Saturday, November 10, 2012

A new journey!

It's a big day in Home Cooking Mama Land. I know I've mentioned it before but back on February 14th 2007 I was diagnosed with Polycystic Ovarian Syndrome. It's a weird thing because I don't fully get how all the components come together but basically it's a hormonal imbalance with can lead to infertility and diabetes. Somehow the drug metformin, which is mainly used to treat diabetes, helps.

Well I'm not diabetic, and even during pregnancy was no where near gestational diabetes. But there is a family history, so I have to some serious work if I don't want to end up with it. However I do have a tough time with hormones and irregular periods.

Not a day goes by that I deal with PCOS that I don't thank God that the boys were conceived quickly and the pregnancies successful. I know too many sufferers that battle with this and one dear friend that I'm praying hard for right now. At 7 weeks with my first son they found blood in the sac which is a sign of miscarriage. Thank God (and I do give God all the glory) there were no further issues and he's now my wild man running around digging my yard up and about to turn 5.

I never really gave my body time to correct the PCOS because I was pregnant within 3 weeks of being diagnosed. I then breast fed him for 18 months and 3 months later I got pregnant with my second son. I nursed him until he was 22 months. Honestly as a mother breast feeding was one of the most amazing experiences of my life. To provide my boys with perfect milk for so long was a privilege.

Well it's been 10 months and now my body is returning to a normal state, well maybe a non pregnant/breast feeding state would be better because normal is not normal. I had to stop taking the metformin because it was tearing my stomach up and over the past month I've been getting back on it. My doctor had put me on a good birth control pill to regulate the hormones but it wasn't working. I would get horrible migraines the days I didn't take the hormones and the first week of a new pack I felt like a monster she-devil! I saw my endocrinologist and his suggestions weren't too exciting but switching to seasonique (the pill you take constantly for 3 months) seemed to be the best option. But I was also told the weight had to come down. Why is that always so much easier said than done?

I told him I had been trying to do the work out program P90x, and had actually lost 2.5 inches off my waist and hips but had gained 10lbs (muscle weighs more than fat). The only problem has been consistency, my life is crazy and finding the time has not been easy. Having a strong support network is so critical to these things and I just haven't set myself up well for that.

I adore my Ob/gyn doctor, he's such a nice man and I really take on board his advise. He told me to try the Glycemic Load diet. I had actually read about this in a PCOS book but until now have not really looked at it. I had followed a lot of the suggestions from that book like getting rid of processed food.

I have a friend that a few years ago cut all carbs and sugar completely from her diet. She has seen amazing results and looks amazing now but I don't have her level of discipline and the thought of never eating chocolate or potatoes again just seemed scary.

So after I saw my doctor Wednesday I order the book. It came Friday and I've been reading it non stop. After the first few chapters all the talk about starch toxins had me mourning the loss of my beloved potatoes, bread and pasta. In my head it all makes sense but I have to reprogram my brain.

The good news is that chocolate and coffee do not have to go. He actually encourages a piece or two of chocolate to help ease the starch cravings, and I know there will be many. And my beloved coffee is here to stay!!!

One thing that did stick out was exercise. PCOS is something you always have but doesn't necessarily manifest itself. Mine didn't until I moved the USA back in 2003. One of the main changes in my lifestyle was that I went from walking EVERYWHERE to not. South Louisiana is not conducive to walking, it's hotter than hot. Baton Rouge is a lot different to Belfast in that the city is very spread out. My inactivity has been my downfall. Plus to a certain extent, marriage has not helped. I used to just eat when I was hungry, now I cook to schedule. Trust me I've enjoyed every bite that added the pounds on. Nobody created this situation but me.  

So I'm going to give it a go and I want to invite you all along with me on this adventure. Home Cooking Mama is starting a new journey to a world where starch is for ironing shirts and I will take control of my health.

My New Years resolution for 2012 was to be healthier and happier and well as the calendar seems to pass quicker and quicker I have to say I didn't really succeed. But there is still hope and there is always 2013!

Happy Home Cooking!

Wednesday, October 24, 2012

My Back Up Singers

'No man it an island' I believe is what they say, and I think this applies to cooks as well, 'No cook is a kitchen island'. So I want to introduce you to 5 members of my culinary team...


First up is Plymouth, she is my favorite. She is so friendly, I highly recommend Plymouth Rocks. She has been known to come sit on the arm of the swing with us and on many an occasion has tried to get into the house. I guess she thinks she really is part of the family. 

Plymouth Rock

Then there is my Rhode Island Red, she's one of my most reliable layers.

Rhode Island Red
Then we have Cuckoo, she is a french Cuckoo Maran. She lays the most beautiful dark chocolate brown eggs that are beyond fantastic to bake with. The place we got her told us that they supply to bakeries that will only use their eggs for baking. I have to say that I do notice a difference. She does have an a little attitude and isn't the friendliest, French Madam!!!

Cuckoo

Next up, we have Sexlink. She's a cross and I'm not sure what. She's a great layer too. 

Sexlink
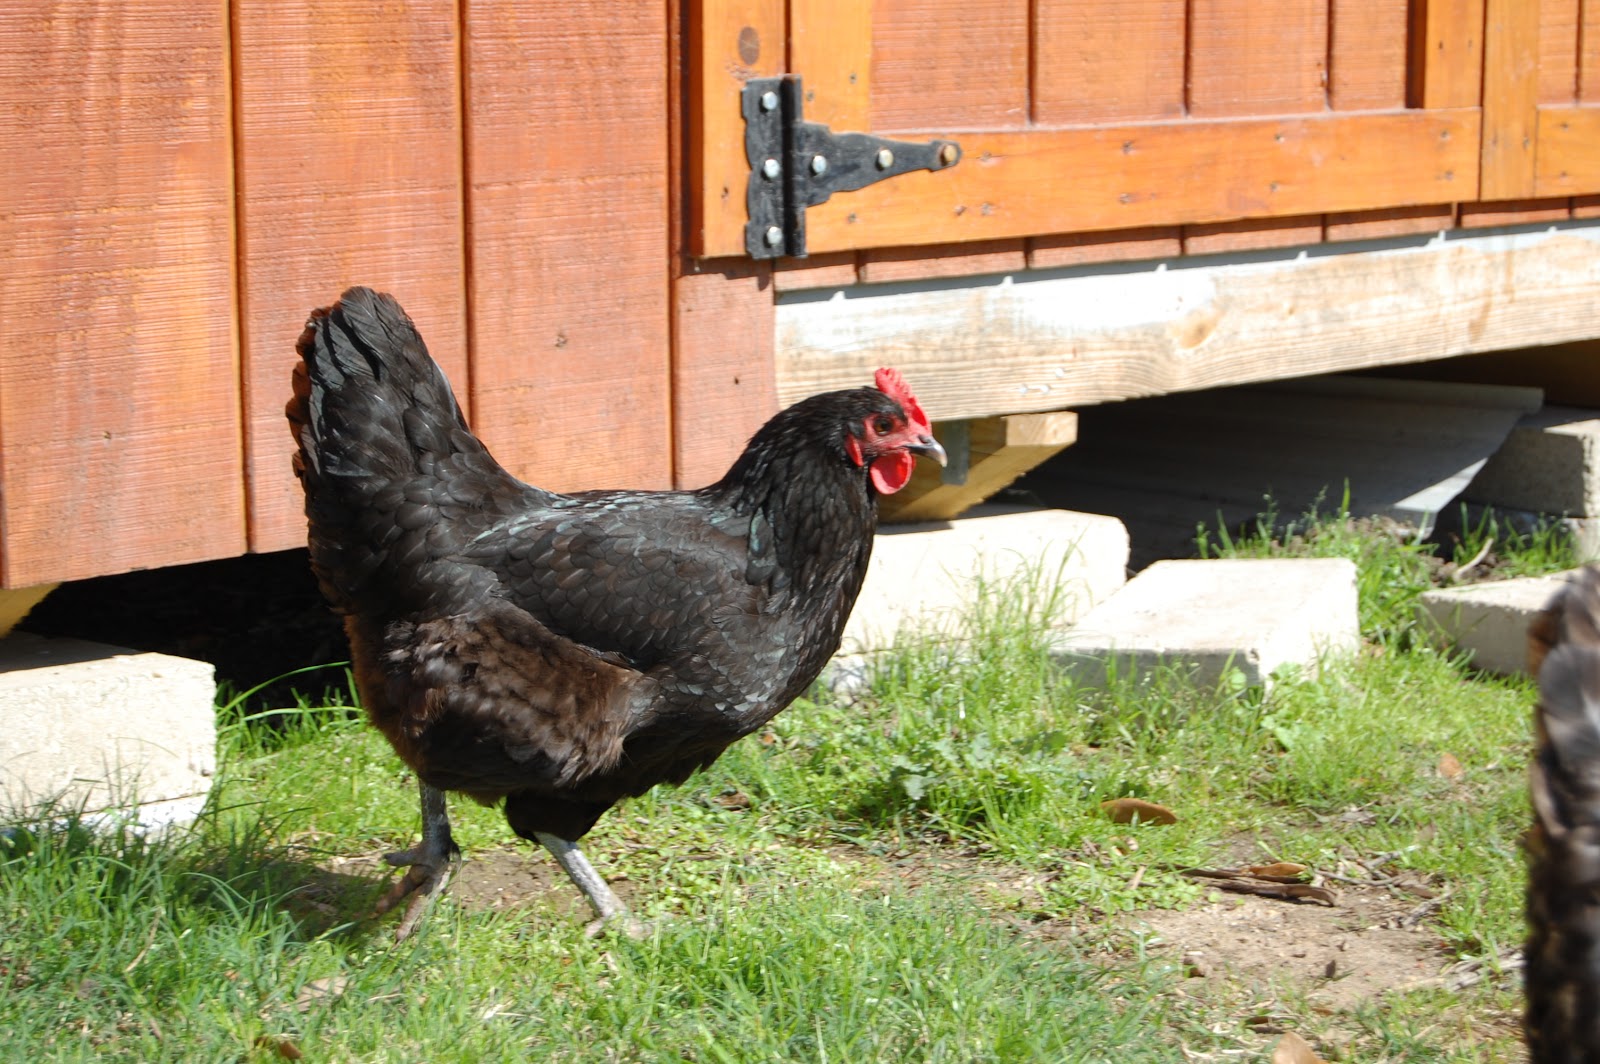
Then we have Beauty, she is an Australorp. I have to say that as pretty as she is she is my least favorite and she is extremely skittish and has been an escape artist since we got her. But still her eggs are yummy.

Beauty

I haven't bought store eggs in almost 3 years and I have noticed such a difference in the quality of cooking, especially baking. I no longer have issues with my cheesecake cracking and the cupcakes are so much better.

We all have a back up team in the kitchen, the store we buy our groceries from to the farmers that grow the products. As I've learnt over the last few years it nice when the distance between you and that person or thing is greatly reduced. You would be amazed how long an egg stays good, makes you wonder how long it's been since those store eggs were laid.

We did have a garden too for a while but that takes alot of time and effort. Although having fresh home grown vegetables is wonderful. We have been blessed this past year through one of the foresters my husband works with, he doesn't have green thumb he has two green hands. The beautiful vegetables he has blessed us with is amazing.

Anyhow just wanted to introduce you my ladies.

Happy Home Cooking from the Home Cooking Mama Chickens!

Tuesday, October 23, 2012

Made From Scratch Beef Fajitas

I am so proud of myself. One of my aims has been to completely replace processed food in our diet and find a way to make our favorites from scratch. Well for the longest time Beef Fajitas were my quick and easy open a packet go to meal, the seasoning was prepackaged, the tortillas were prepackaged. Recently for dinner I made Beef Fajitas from scratch, the seasoning was my own and the tortillas were completely homemade.

I cannot begin to tell you how delicious and superior this seasoning is to the McCormick pack. Now I'm not criticizing McCormick, they have been a faithful friend in my kitchen. However I have become more conscious of the label on food. McCromick's Fajitas Mix ingredients are: Spices (including Cumin, chili pepper, and oregano), corn maltodextrin, onion, onion salt, corn syrup solids, garlic, citric acid, caramel color, lime juice solids, modified corn starch and natural flavors. Now in the grand scheme of things that doesn't sound too bad and maltodextrin isn't the worse additive as it's actually from food not chemicals. However I know that glucose based items aren't usually that good for blood sugar. I do wonder why 'caramel color' is required!

I've posted the recipe for the tortillas before and once you have made them from scratch and see how easy they are and how awesome they taste you will have a hard time buy them at the store. 

So here is the recipe for Made From Scratch Beef Fajitas. Trust me these are the best fajitas, my father-in-law even loves them and he's a really picky eater!!!!


Beef Fajitas


 Seasoning
2 tsp chili powder
1 tsp salt
1 tsp paprika
1 tsp sugar
½ tsp onion powder
½ tsp garlic powder
¼ tsp cayenne pepper
¼ tsp oregano
¼ tsp cumin

Tortillas
2 ¾ cups (about 12½  oz) unbleached all-purpose flour
1 tsp baking powder
¾ tsp kosher salt
5 T (2 ½ oz) vegetable shortening
¾ cup very warm water

Fajitas 
1 lb sirloin beef
2 T vegetable oil
1 red bell pepper, cut into strips
1 green bell pepper, cut into strips
1 yellow bell pepper, cut into strips
1 red onion, cut into strips


Directions:

1. Mix all the seasoning ingredients together.


2. Cut up the beef into strips and place in a bowl. Add the seasoning and mix to completely cover.


3. Let the meat marinate in the fridge for at least an hour. You can also freeze the meat marinated.
4. To make the tortillas: in a bowl, using a whisk, combine the flour, baking powder and salt. Add the shortening (and/or lard) and rub into the flour mixture until well incorporated.
5. Gradually mix in the water until the dough comes together. It should be a medium-stiff consistency, not a soft as bread dough but not firm either. Add additional water if needed a Tablespoon at a time.
6. Turn the dough out onto a floured surface and knead until smooth.


7. Divide the dough into 12 portions and roll each into a ball. Set the balls on a plate, cover with plastic wrap, and let rest for at least 30 minutes.


8. Flatten the ball of dough, flour it, and then roll forward and backward across it once. rotate a sixth of a turn and roll forward and back again; continue rolling and turning until you reach the desired circle size. Roll all of them before going to the next step. I've found that adding a little extra flour between them helps to stop them sticking together.
9. Heat 2 tablespoons of vegetable oil in a cast iron skillet. Add the beef and cook, stirring frequently.
10. When the beef has browned add the bell peppers and red onion and continue to cook until they are done. Don't forget to stir it!


11. While the beef is cooking, cook the tortillas. Heat an ungreased griddle or cast-iron skillet over medium to medium high heat.
12. Lay the tortillas on the hot skillet, there may be a little sizzle noise and you will see bubbling across the surface.


13. After 45 seconds or so, when there are light brown marks on the bottom, flip it over and cook for another 30 - 45 seconds until the other side is slightly browned. Be careful not to leave it too long or it will become crispy. Remove from the skillet and place on a dry cloth. Repeat the process with the remaining tortillas and stack them one on top of the other on the cloth.


14. Serve immediately and with all the additions you like, cheese, sour cream, salsa, whatever takes your fancy.


Happy Home Cooking!!!


Monday, October 22, 2012

Home made tacos

Sorry for my absence but life gets so hectic sometimes.

But I'm back!!! And my mission to remove the processed food from my family's diet continues.

Today Tacos. For years I've used the old El Paso kits and seasoning. Honestly there was nothing too wrong with that, tacos were a quick easy meal! Then I started making the fajitas from scratch and they were delicious. Then I made the prepackaged tacos and my husband didn't really care for them anymore, it seems that he has been ruined.

So I decided it was time to make my own taco seasoning. After all this is not a move that means I will be cooking for twenty more hours. I got my seasonings out, mixed them in the bowl and ta da no more pre-packaged seasoning. I reduced the amount of cayenne pepper because it had a little too much kick to it, although my husband liked that.

I adapted my recipe from Alton Brown's All American Beef Taco. I love the show Good Eats because he really strips recipes to their core and explains why and how the processes are the way they are. We recently changed cable companies and now get the Cooking Channel. Can I say how much I am enjoying it!

I have to admit that I used store bought taco shells, we all have to cheat a little right. But I do plan to figure out how to make them. Mr Brown did say how to make them into shells by buying corn tortillas but I decided to save myself that step this time.

Oh one quick note, you can go ahead and make up a jar of the seasoning and it will keep for a month in an airtight container. Although it takes such little time to mix it that you don't need to, but it could be a help, if time is short, to have some ready to use. As for cost well initially buying the spices might be more than a pack of seasoning but they will make many of a seasoning mix. I already had all the spices in my cupboard so it was simply a case of reaching in the cupboard.

Home made Tacos

Seasoning
2 Tablespoons chili powder
1 Tablespoon ground cumin
2 teaspoons cornstarch
2 teaspoons kosher salt
1 1/2 teaspoons smoked paprika
1 teaspoon ground coriander
1/4 teaspoon cayenne pepper

Put all of the ingredients in a small bowl. Using a hand whisk mix to combine. Store in an airtight container for up to a month.

Tacos
1 medium onion, finely chopped
2 cloves garlic, minced
1.5 lbs lean ground meat (mince meat)
1 recipe of seasoning mix
1 cup low sodium beef stock
Taco shells, lettuce, tomato, cheese and other favourite toppings as desired

1. Place ground meat, garlic and onions in a skillet and cook until browned, making sure to stir to break up ground meat.
2. Add seasoning mix and beef broth.
3. Bring to a simmer and cook, uncovered, until sauce is slightly thickened.
4. Heat taco shells according to package instructions.
5. Assemble as desired!

Happy Home Cooking!